Kinesis Freestyle2 Ergonomic Keyboard + Numeric Keypad Review
Even though I’ve had the opportunity to try many different ergonomic keyboards (including some of the most advanced models available), my enduring daily driver for the past 15 years has stayed the The Kinesis Freestyle + V3 lifter kit. I’ve tried and reviewed many other keyboards, but none have checked the boxes for me like this simple, longstanding favorite.
What’s so great about the Kinesis Freestyle? Whatever you want it to be.
Once upon a time, Kinesis offered a keyboard called the Maxim; you can still buy one on eBay from time to time if you’re curious to see what it was like. The Kinesis Maxim came with one large base and two keyboard modules permanently attached. You could rotate and tilt them to some degree, but that was about it, and the modules weren’t leaving the keyboard.
With Freestyle, which came out in the early 2000’s, and then with Freestyle2 in the 2010’s, Kinesis hit on a design that would be hard to improve, because so many “improvements” are already baked into the cake.
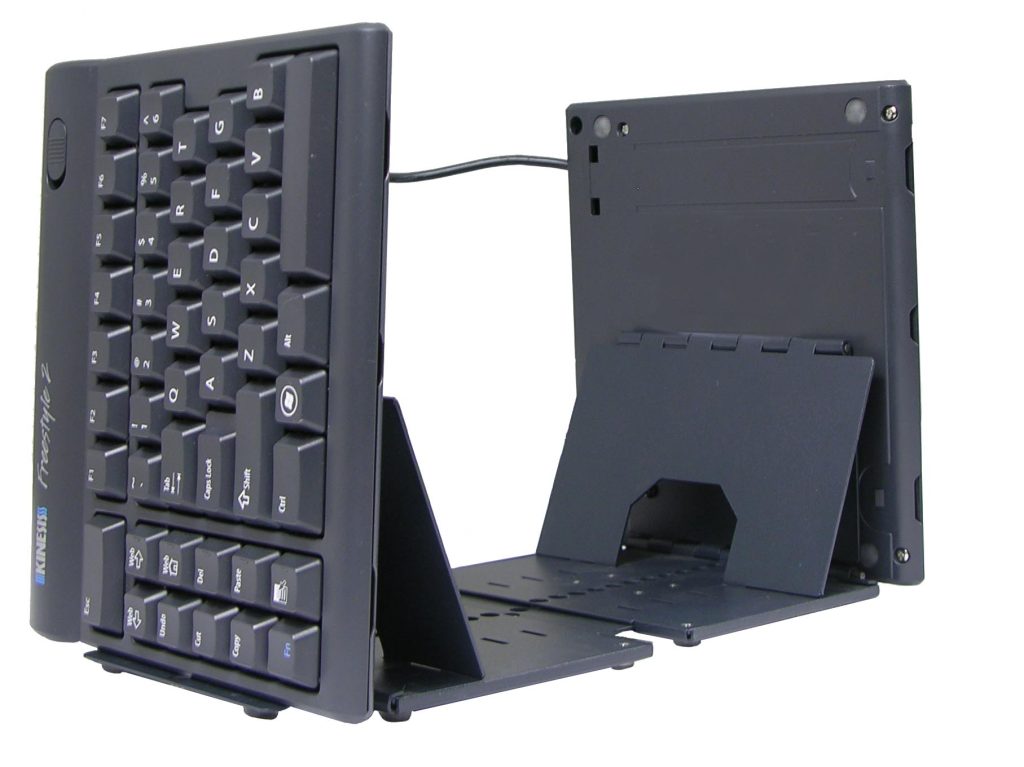
V3 = Basic tilt
Easily installed to the base of the keyboard using small included screws, the V3 lifters push up the center of your Freestyle in a “tent” shape, which (as ergonomic people have told us since the 1990’s) angles your wrists more advantageously toward the “handshake” position. With the V3 you get three tilt levels – 5, 15, and 20 degrees. Having tried all of them, I prefer the lowest one. This is mostly because of how it integrates with my desk setup, nicely matching the height of my Contour ArmSupport Red.
VIP3 = Tilt + palm rests
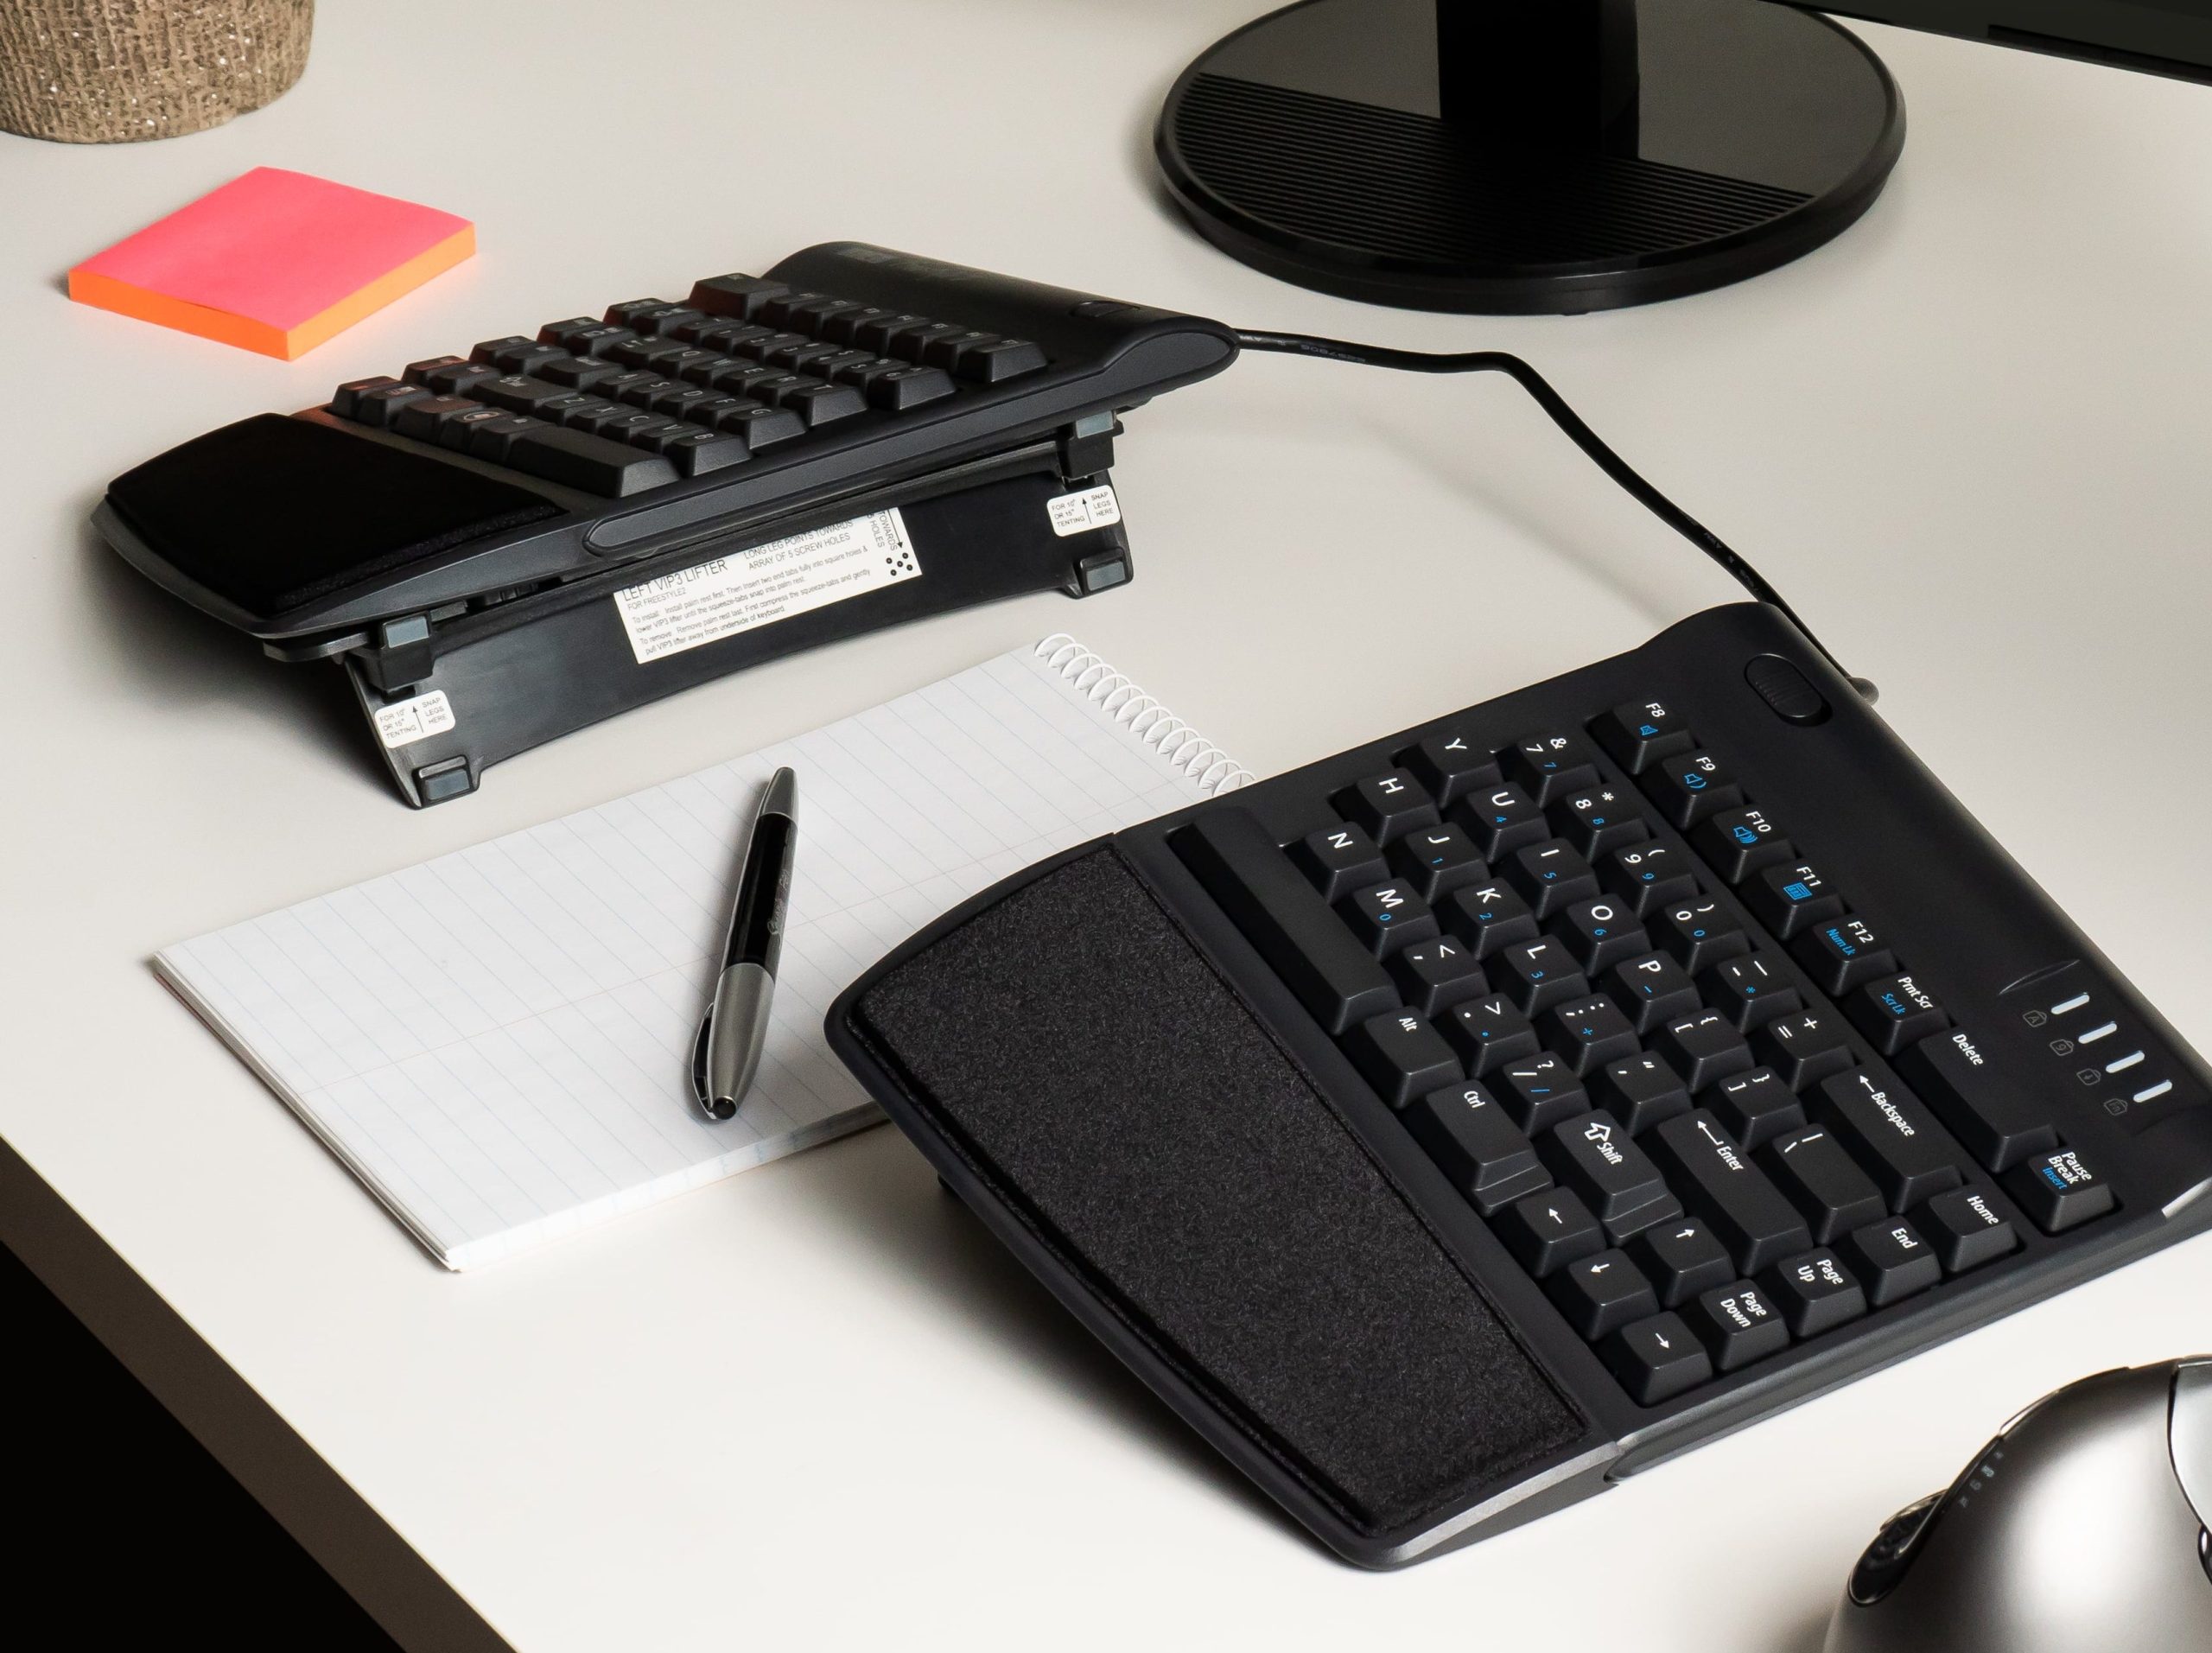
If you take everything we said above about the V3 lifters kit from Kinesis and a couple of attached palm supports with stick-on pads, you have the VIP3 kit. While the functionality of this configuration is great, and many users will appreciate the wrist support, I’ve never been able to get into the feel of the palm rests, which just seem scratchy me. I’m sure Kinesis has thousands of users whose experience would say otherwise, so take this for what it’s worth, and try it for yourself if you think it will be a good fit.
Ascent = Go vertical
For fans of the SafeType style keyboard – who want to go beyond the angled “handshake” position and all the way to playing an imaginary accordion – there’s the Kinesis Ascent kit. Costing more than the Freestyle2 itself, the Ascent gives you eight tent levels, starting where the V3/VIP3 leave off at 20 degrees, and going up all the way to 90 degrees as shown below.
Extended cable available
For people with mile-wide shoulders, or those who want to do something wildly unconventional (such as affixing the separate keyboard modules to the arms of a chair), Kinesis offers a cable to separate the modules by about 20″ instead of the default 9″. This cable is pretty easy to install, as long as you’re comfortable opening up your Freestyle with a small screwdriver. I did it on my previous Freestyle (a keyboard that lives on, though in someone else’s office), but found later that the default separation is plenty for someone with my particular needs.
My personal experience
When I first experimented with the Freestyle about fifteen years ago, I thought I’d want the VIP3 kit for the palm rests. At the time, I was very into palm rests – but later, I figured out that pressing something into my palm or wrist all the time while using my computer didn’t help me out much, and actually made certain pain symptoms much worse. (Plus there was the scratchy palm rests issue I touched on earlier.)
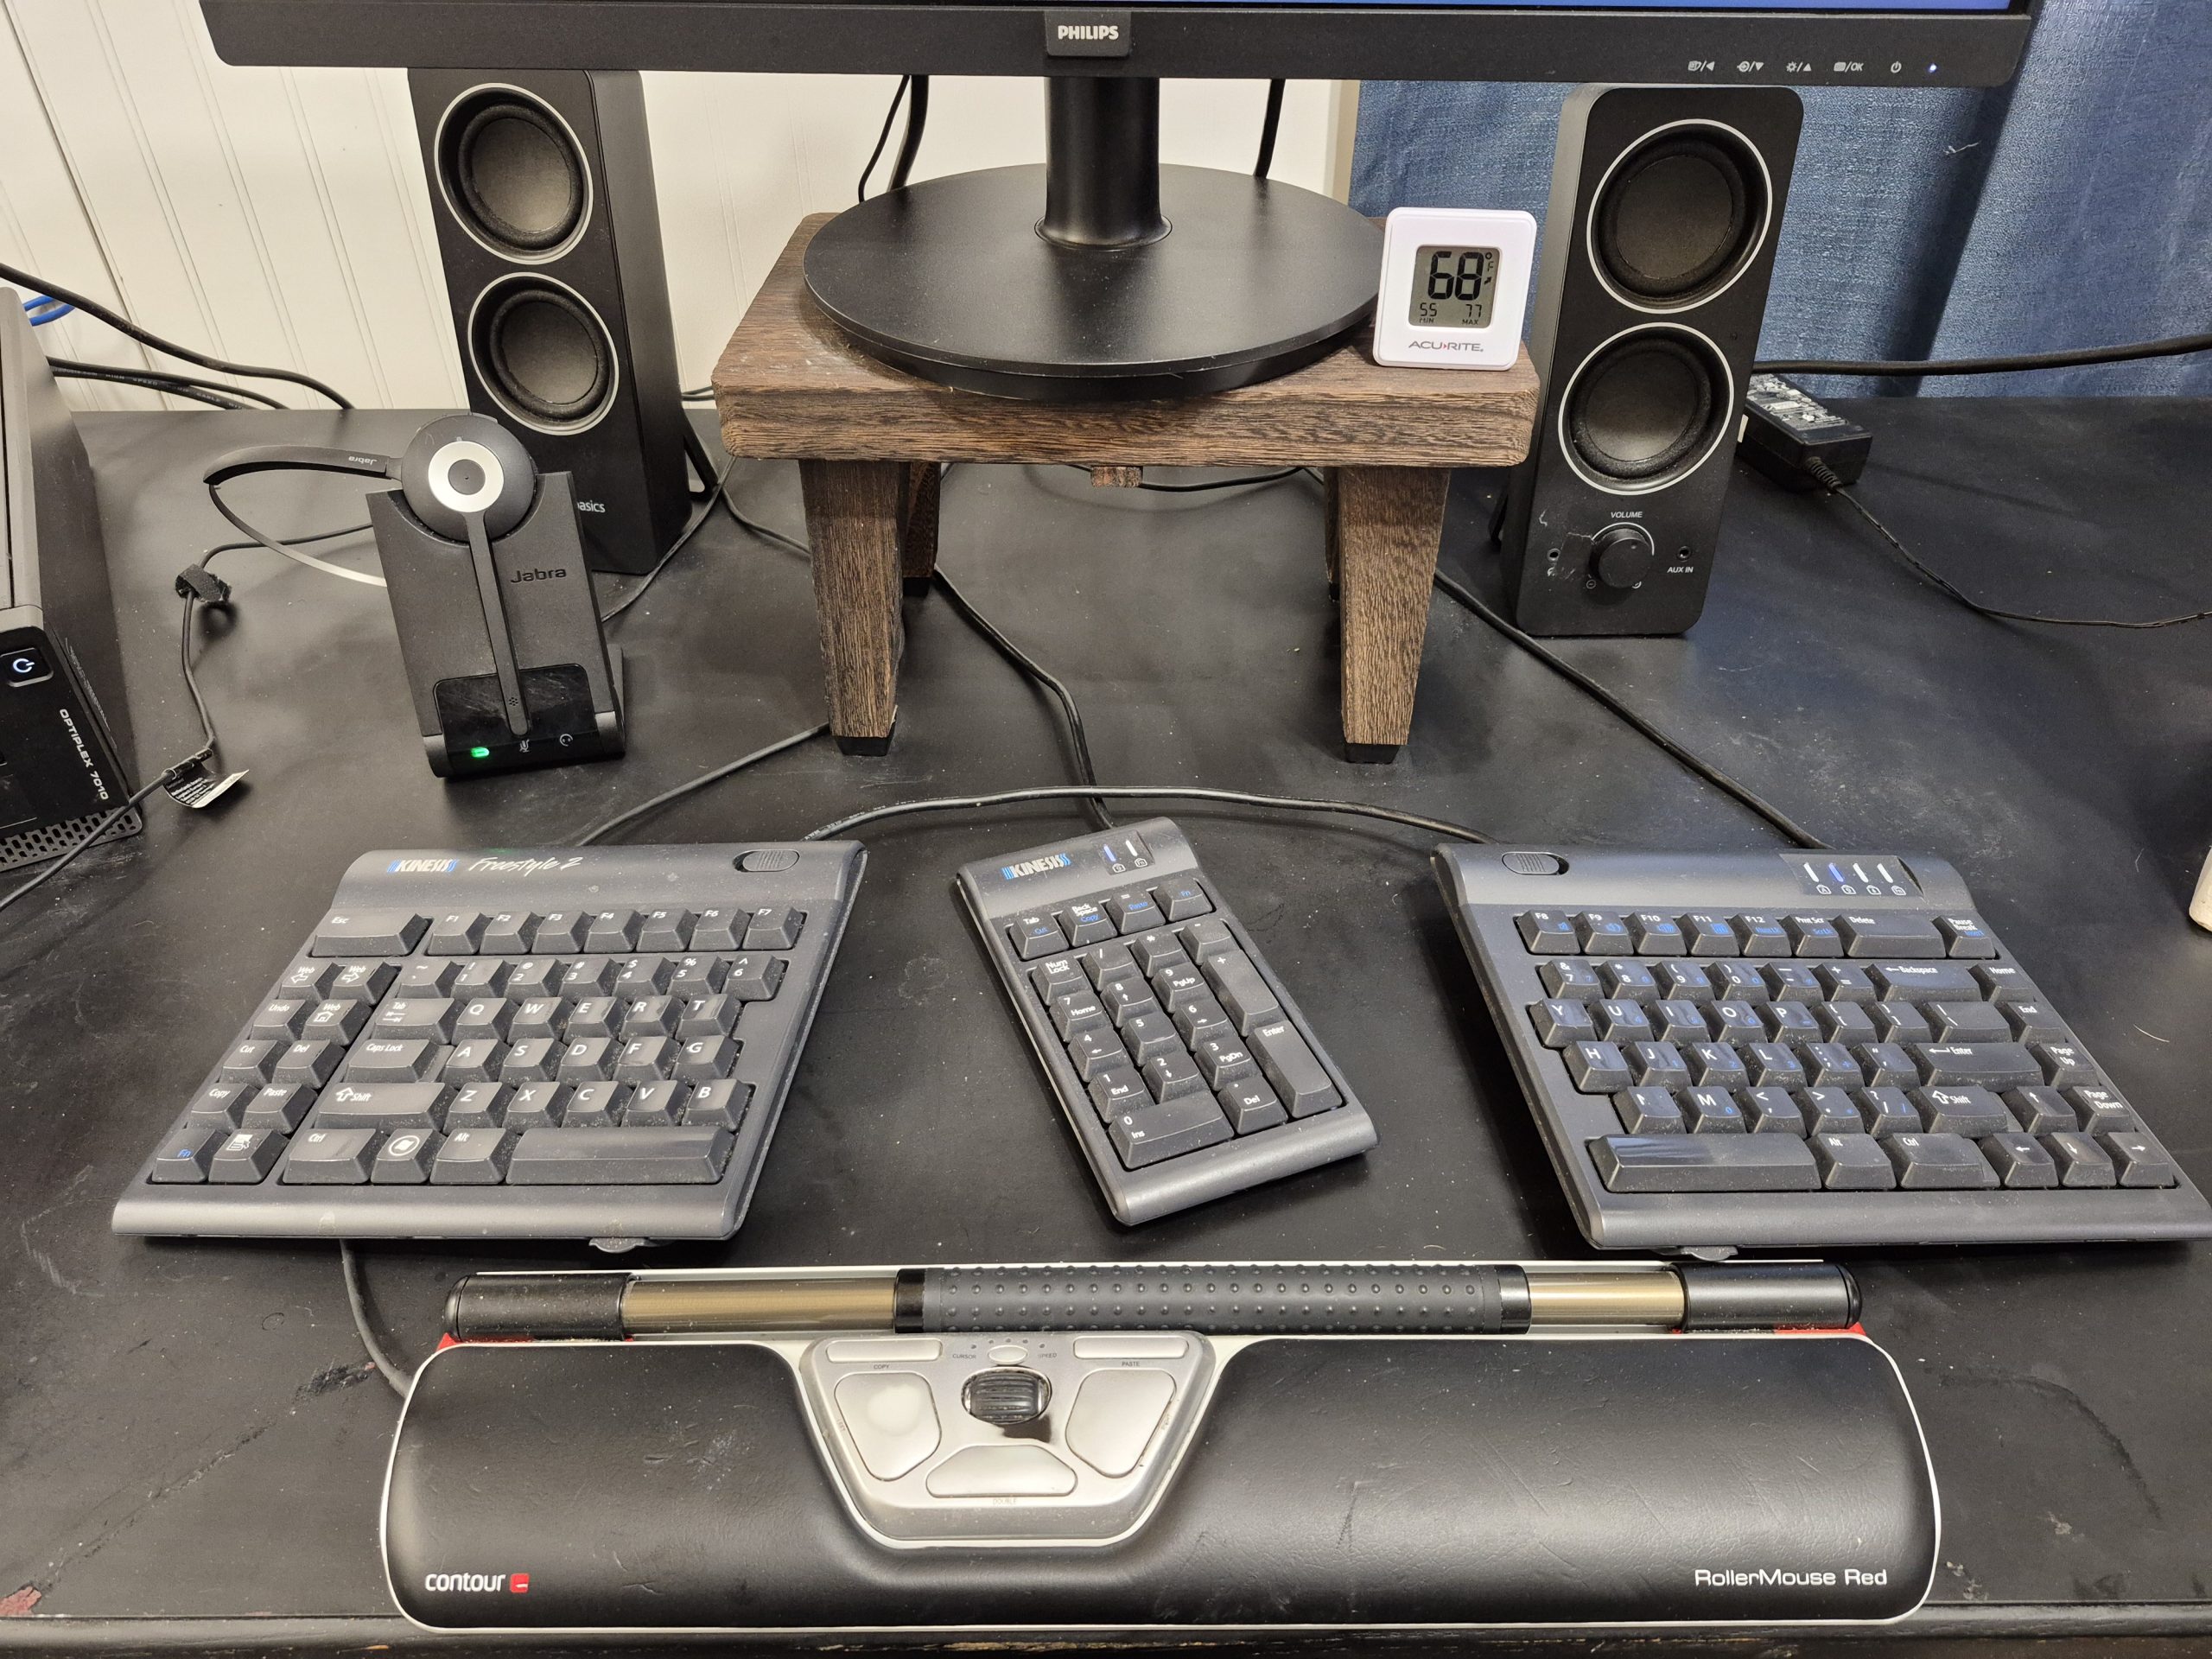
Although I personally use the V3 – tilt but not palm rests – and have done for a long time, I would caution anyone against configuring this way without some good support for your elbows and/or arms. This keyboard setup pairs nicely with my RollerMouse Red + ArmSupport Red, but anything at least equivalent to the support of arm rests would be helpful if not essential. You simply don’t want your elbows hanging out in the space. Your shoulders will hate you, and in my case, the tension would go all the way down into my fingers.
Why a separate numeric keypad?
The “typical” computer keyboard configuration hasn’t changed much since Windows 3.1 was the latest technology. Even beyond the ubiquitous QWERTY, most keyboards have an expected array of keys to one side – always the right, as far as I know. These include the arrow keys, but also the important “ten key” section, loved by bean-counters the world over. If you know ten-key, it’s way easier to enter numbers this way than using the typist’s row at the top of QWERTY. But if that’s not you, the numeric keypad mostly just takes up a chunk of desk real estate you need for other things – notably your mouse, unless you’re lucky enough to be left-handed and enjoying a whole separate batch of ergonomic problems.
Because pushing the mouse further to the right is generally considered a greater evil than getting stuck with doing numbers on the top row, almost all current mechanical keyboards dispense with the ten-key section entirely. Several manufacturers, including Kinesis, offer instead a separate numeric keypad you can park in the spot of your choosing. Putting as I do a high premium on personal customization ability, I consider this a much more nearly ideal solution. My ten-key sits between the two modules of my Kinesis Freestyle, gently angled toward my right hand and ready for accounting action. The Kinesis keypad is nothing special functionally, but I’d rather have matching components – and I’m also unsure if a “generic” ten-key would have issues fighting the keyboard on numlock settings. You do have to engage numlock for the keypad to work, but it doesn’t have the same effect of turning on the pretty-much-useless numpad overlay on the right keyboard module (7, 8, 9, U, I, O etc.), which I haven’t discussed because it has never made any sense to me. (If you actually use this feature on the Freestyle, or on your laptop, drop me a comment.)
Fifteen years in, I wouldn’t change much
Back when my job involved more development/coding (those were the bad old days!), I had reason to worry a lot about the little extra function keys that most ordinary users probably ignore. The Freestyle doesn’t go crazy with these by any means, but there is a nice bank of them on the left side of the keyboard. I used to use a few of them, and even did some fancy key remapping to make myself an Alt-Tab combination that was less effort to press. (If you’re curious, I remapped Web to Alt, putting an Alt key directly next door to Tab.)
While the remapping technically made keystrokes a bit more efficient, I never really missed it after losing it in a long-ago system upgrade. (In fact, I hadn’t though about it all for years until starting this article). When I was more of a geek, I liked to whine about the Freestyle’s need for hardware keyswitch remapping (a feature the base Freestyle never received, but the upgrade Freestyle Edge mechanical version does have now). Now that I’m years out of coding, I don’t miss that feature and probably wouldn’t use it.
I’ve also more or less come to terms with the way the Freestyle Fn key works, namely as a toggle rather than as a momentary switch. Most people will really only need this key when using the overlay ten-key, an option too horrible to consider in my view – and unnecessary because of my aforementioned love affair with the separate numeric keypad Kinesis provides.
An ergonomic keyboard for the ages
I recently passed my 21st anniversary in the working world, for every day of which my role has included sitting (or standing, or walking) at a desk and banging on or pushing around computer peripherals. My personal Kinesis Freestyle has been my full-time companion for more than 15 of those years. The only signs of wear? Some letter legends are starting to come off. Repairing that would be a simple matter of replacing keycaps, but is hardly worthwhile for a touch typist. (Some typing geeks even recommend using a blank keyboard to start with, just to enforce on yourself a rule of no peeking.) I can easily see one Kinesis Freestyle lasting an entire career from a hardware perspective. And from ergonomic perspective, it’s hard to come up with something you’d like your keyboard to do that the Freestyle can’t accomplish.
Although Kinesis sent me a free sample Freestyle2 a long time ago, which is still in use at once of my offices, this review was made on another Freestyle2 I purchased later for my second office. I recommend both keyboards!